
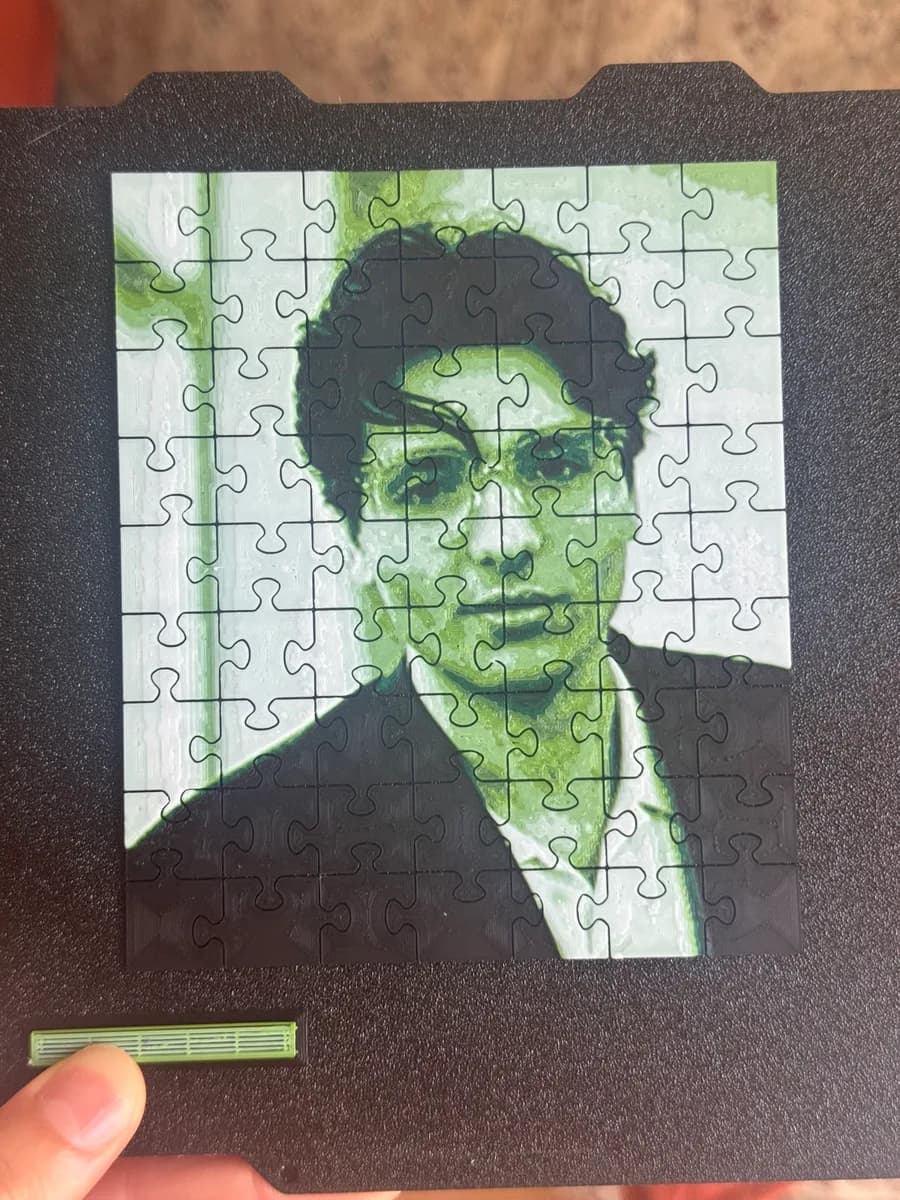
The first instinct when printing a portrait is to look for a skin-coloured filament. It is also the most reliable way to get a face nobody recognises. A photo puzzle, like any relief print, does not reproduce colours; it reproduces light and dark. A face is recognisable because of the shadow under the nose, the line of the mouth, the dark of the eyes and hair against lighter skin. Get those four tones right and the hue barely matters. The portrait above is printed in two greens, and everyone who sees it names the person on the spot.
So the question is not “which filament looks like skin” but “which four spools give me a clean dark, two distinct midtones and a bright top”. Here is how we pick them.
The base must be the darkest spool you own
The base filament prints everything the photo leaves in shadow: hair, pupils, the inside of the mouth, the jacket. If the base is not dark, nothing in the print is, and the face turns into a flat grey mask. Black is the safe choice; very dark brown or navy work for a warmer or cooler look.
This is the mistake we see most in support: a palette with a mid-blue or a red as the base. The preview already shows it, the print confirms it, and no slicer setting can bring back contrast that was never in the palette.
Order by brightness, not by colour
The generator stacks filaments by height: the darkest at the bottom, the brightest on top, because brighter parts of the photo get more layers. Two midtones that are the same brightness in different hues (say a mid-grey and a mid-brown) look like one colour in the print and you have effectively printed three tones instead of four. Pick midtones that differ clearly in brightness; the preview in step 3 shows whether they separate.
Palettes that work for faces
| Look | Base | Midtone 1 | Midtone 2 | Top | Best for |
|---|---|---|---|---|---|
| Classic photo | Black | Dark brown | Caramel / tan | Ivory or white | Almost everyone; warm, looks like an old print |
| Documentary | Black | Dark grey | Light grey | White | Black-and-white photos, glasses, strong features |
| Sepia | Dark brown | Caramel | Desert tan | Beige | Wedding and vintage photos, grandparents |
| Poster | Black | Navy or forest green | Light green or sky blue | White | Bold, modern; works with the Cartoon poster look |
Every one of these follows the same rule: the base is the darkest, the top is the brightest, and the two midtones sit a clear step apart. Swap hues as you like, keep the brightness ladder. Bambu's Dark Brown, Caramel and Desert Tan are a ready-made ladder for the Classic and Sepia rows; Dark Grey, Silver and Jade White for Documentary.
Dark skin, pale skin, beards and glasses
- Darker skin tones: most of the face sits in the base and first midtone. Raise the midtones setting (or use Auto-match to photo) so the cheeks and forehead climb into the second midtone; otherwise the face prints as a silhouette with eyes.
- Very pale skin: the opposite problem, the face floods the top colour. Lower the midtones a touch and make sure the photo has real shadows: light from the side, not a flash from the front.
- Beards and dark hair: free detail, they print in the base. Make sure the hair does not merge with a dark background; a lighter background behind the head helps enormously.
- Glasses: frames print as crisp dark lines and help the likeness. Reflections on the lenses can print as bright blobs; a photo without flash avoids them.
- White: it is the top colour, so it must cover. With translucent whites the generator gives it four layers at 0.08 mm; if your white is a cheap semi-transparent one, set its opacity in the filament shelf and the generator compensates.
When the photo is the problem
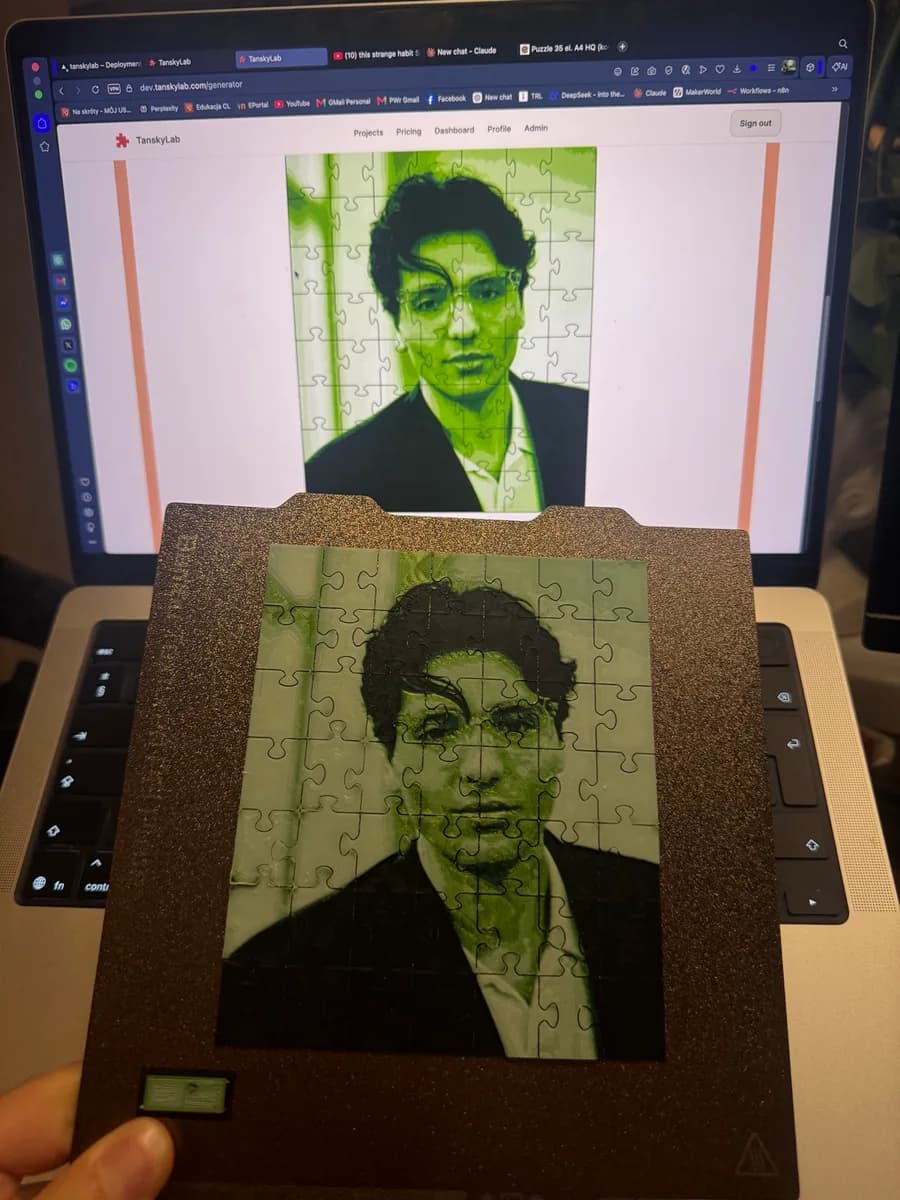
A busy background, a backlit face or a group of eight will not be saved by any palette. Crop tight (one or two faces filling the frame), and if the photo is soft or cluttered, run it through the generator's AI looks: Clean background removes the clutter, Cartoon poster turns a soft phone photo into clean areas of tone that print like a screen print. Then let Auto colors pick a palette from your own spools and check the preview. The preview is honest; the print will match it.
Start with a Mini (100 mm, about two hours) before you commit to a Large: it is the cheapest way to confirm the palette on your filament, under your lamp.