
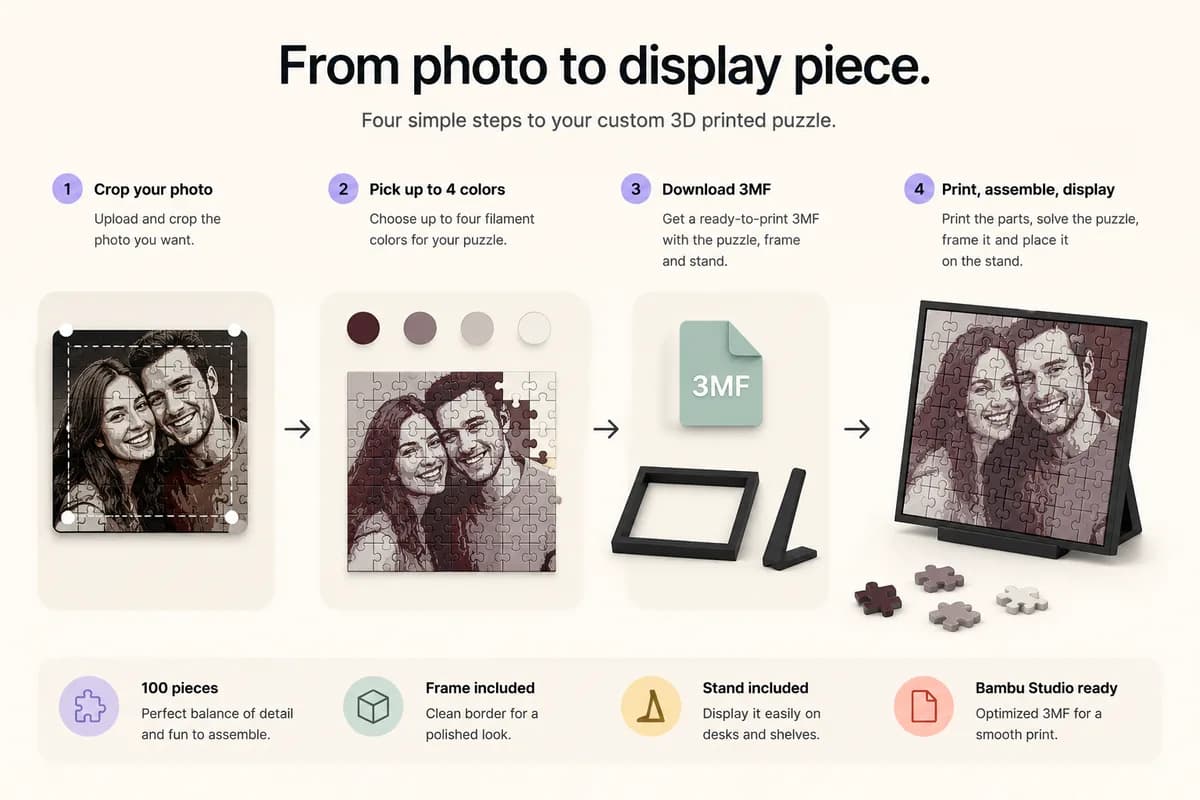
This is the single most common message we get: “I downloaded the file, opened it in Bambu Studio, and the whole puzzle is black. Did the colours not save?” The colours saved. You are looking at the one view in Bambu Studio that cannot show them.
It is worth understanding why, because the same thing happens with every layer-based multi-colour model on MakerWorld, not just ours.
Colours are instructions, not paint
A photo puzzle, a lithophane-style relief or a HueForge print does not have a coloured surface. It has a geometry built from layer heights, plus a list of instructions: “at 1.04 mm switch to filament 2, at 1.52 mm switch to filament 3.” Bambu Studio stores those instructions in the project, but the Prepare view draws the raw geometry in one colour, the first filament in the list. For most puzzles that filament is black, because black is the best base for a photo.
The slicer only works out which layer gets which filament when it slices. Until then, there is nothing to show.
How to see the real colours (one minute)
- Open the 3MF as a project (File, Open project), not with “Import geometry only”. The import option strips the colour changes.
- Check the filament list on the left: it should show your colours in the same order as in the generator. If a slot is empty or shows a different colour, that is the one to fix.
- Click Slice plate. Then open the Preview tab and drag the layer slider: every colour appears exactly where it will print.
- Send it to the printer from the Preview tab. The printer gets the filament changes with the file.
The three cases where it really is broken
- You downloaded the STL instead of the 3MF. An STL is bare geometry and carries no colour changes at all. The generator offers STL for other slicers; for Bambu Studio and OrcaSlicer always take the 3MF project.
- The filaments are mapped to the wrong slots. If the printer's AMS has your colours in a different order, Bambu Studio will ask you to map them when you send the print. Map black to black and white to white; a project that printed “mostly blue” usually means the dark filament was mapped to a blue spool.
- The print came out one colour. If the model sliced with colours in Preview but printed in a single filament, the printer skipped the filament changes: check that the AMS was active and that you did not send the file to a single-filament profile.
Same story in OrcaSlicer and Creality Print
OrcaSlicer reads the Bambu Studio project format natively and behaves the same way: plain in Prepare, coloured after slicing. Creality Print asks you to choose a printer preset on import, then slices with the colour changes intact. We keep a guide for both slicers with the exact dialogs you will see.
If you want to know what the colours will look like before you even download, the generator's preview in step 3 is the same simulation the slicer will produce. When the preview looks right, the print will too; when it looks muddy, change the palette or the contrast there, not in the slicer. More on that in the FAQ.