
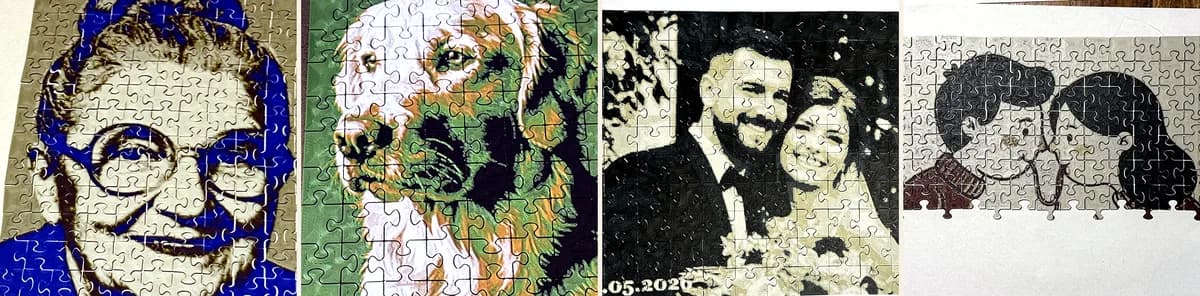
A reader on MakerWorld asked whether a photo puzzle made for Bambu Studio can be printed on a Snapmaker U1 “while retaining the colours”. The short answer is yes, and the longer answer explains why: the colours in these files are not a Bambu feature. They are plain layer-based filament changes, and every slicer in the Slic3r family understands them.
Here is what happens to the colours in each slicer, and what changes on a printer that swaps whole tool heads instead of filaments.
Where the colours live in the file
A photo relief is one mesh. The colours are a list of heights with a filament number each: “from 1.04 mm use filament 2, from 1.52 mm use filament 3.” Bambu Studio stores that list in the project, OrcaSlicer reads the same project format natively, and the forks built on OrcaSlicer (Snapmaker Orca, Creality Print, Elegoo and Anycubic slicers) inherit it. Open the 3MF as a project, not as geometry, and the list comes along.
Snapmaker U1 and other OrcaSlicer forks
- Open the 3MF as a project. Snapmaker Orca will tell you the file was created by Bambu Studio and ask whether to keep the embedded presets. Accept, then switch the printer profile to your U1.
- Check the filament list: four colours in the same order as in the generator. Assign each to one of the U1's tool heads.
- Slice. In the preview the colours should switch at the same heights as in the generator; if they do not, the file was imported as geometry only.
- Purge: a tool changer swaps the whole head, so there is no filament to flush through one nozzle. A short prime after each change is still useful; check what the U1 profile does by default before you remove the prime tower.
We have not printed on a U1 ourselves yet, so if you do, tell us what you saw. Everything above follows from how the file is built and from the same workflow on OrcaSlicer, which we tested on several printers.
Prusa XL and PrusaSlicer
PrusaSlicer is the exception. It does not read the 3MF Production Extension that Bambu Studio and OrcaSlicer use for multi-part projects, so it rejects the file outright. The workaround is the STL plus manual colour changes: download the STL, load it in PrusaSlicer, assign tool 1 to the model, and in the Preview add a colour change at each height the generator lists, choosing the next tool each time. Four colours, three changes, two minutes.
On the XL the changes become tool changes, so you get the same layer-banded print with no purge waste. We are working on a Prusa-friendly export so that the manual step disappears.
Single-nozzle printers without an AMS
Everything above also works with one nozzle and no multi-material unit: the colour changes become pause-and-swap stops, one per extra colour. The filament swap guide covers the M600 details per slicer.
Checklist before you hit print
- Project opened as a project, not imported as geometry.
- Filament order in the slicer matches the generator (darkest first, usually black).
- Preview shows colour bands at the expected heights.
- Layer height still 0.08 mm; changing it shifts the colour heights.
- Bed size in the generator set to your printer, so the puzzle or the plate split fits.